Table of Content
Whoops! Checked in somewhere you regret?
We've all been there.
Luckily, deleting Facebook check-ins is simple!
This guide shows you how to erase unwanted location tags on both desktop and mobile, keeping your profile clean and private.
Why Should You Delete Check-Ins On Facebook?
Here are the key points on why deleting Facebook check-ins is important:
- Check-ins reveal patterns, favorite locations, and daily routines, which can be misused, potentially jeopardizing your safety.
- Outdated check-ins can paint an inaccurate picture of your current habits. Removing them minimizes the potential for unwanted attention or security risks.
- Your profile should reflect who you are now, not who you were years ago. Deleting outdated check-ins keeps your profile current and relevant.
Discover if Your Most Critical Identifiers Have Been Exposed on the Dark Web
Receive timely alerts and actionable insights with PurePrivacy's Dark Web Monitoring.
How to Delete Your Check-Ins On Facebook
Many people may dislike check-ins. Not everyone likes sharing their location or where they spend their valuable time with their loved ones.
You are not obligated to keep them; you can erase them in a few simple steps. These are easy changes that will allow you to resolve your problem. Let us show you how to accomplish it step by step.
Step 1: Open the Facebook app and log in.

Step 2: Tap the profile symbol in the upper-right corner.

Step 3: To access your profile from a mobile device, click on your name. If you are using a PC, you can also access your profile by clicking on your name.

Step 4: Now, scroll down to find the check-in status you wish to delete and click the three dots in the top right corner of the post.

Step 5: Tap "Edit post," which shows in the drop-down menu when you click the dots.
Step 6: Tap on the location mentioned in the post.
Step 7: Select the "X" button next to the location.
Step 8: Tap the "Save" button in the upper right corner.
While eliminating undesired check-ins provides a sense of control, it is only one step toward a more secure online presence. Unfortunately, these check-ins could be already circulating in the massive pool of data gathered by advertisers and data brokers.
This creates security issues, as your location history can be used for targeted advertising and identity theft. You need a reliable data administrator to identify potential security issues and recommend suggestions such as tracker blockers to avoid additional data collecting.
Manage Your Online Presence with PurePrivacy
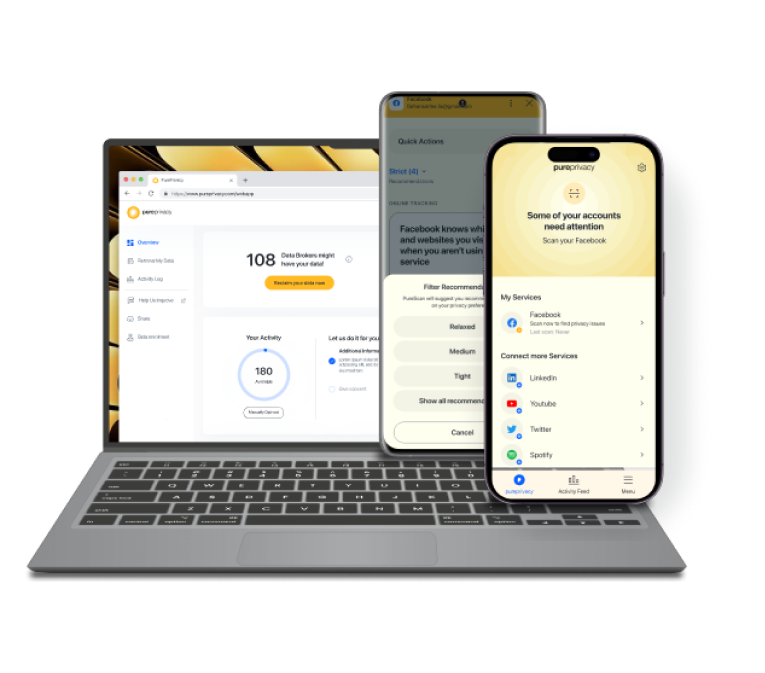
PurePrivacy serves as your digital privacy helper, analyzing your social media settings and offering security changes to protect your account.
PurePrivacy also allows you to take the authority over your data by simplifying the opt-out process with data brokers. With internet trackers removed, you may surf with greater privacy and peace of mind.
Complete Scan for Personalized Privacy Recommendations
You can get a personalized privacy assessment with PurePrivacy. PurePrivacy checks your social media settings and makes personalized recommendations to improve your privacy settings.
Advanced Scanning Algorithm
PurePrivacy's powerful scanning algorithm examines your social media accounts for potential security threats and recommends fixes to enhance your online security.
Continuous Privacy Score
Track the progress and receive weekly reports directly through your in-app dashboard for complete transparency. By registering in the beta program, you will be among the first to see PurePrivacy's latest additions and improvements.
Frequently Asked Questions (FAQs)
-
Who can see my Facebook check-ins?

People who can see your Facebook check-ins depend on your privacy settings:
Everyone: Anyone on Facebook can see your check-ins.
Mutual friends: Your friends and their friends can see your check-ins.
Only friends: Only people you have added as friends can see your check-ins. -
What exactly is meant by "check-in" on Facebook?

This function uses GPS to notify your friends of your current location and the areas you have visited. Socially active people enjoy using this function and sharing it with the rest of the world.
-
Can a check-in appear on Facebook if I do not provide the location?

Facebook is a very active social platform, but it does not compromise your standards. If you went somewhere but did not post about it or share your location, a check-in status will never appear on your page.
-
Can I make my Facebook check-ins private?

While you can't completely make Facebook check-ins private, you can hide the "check-in" section on your profile so others can't see your past check-in history. Here’s how:
Log in to Facebook.
Open your preferred web browser and head to Facebook.com, where you can log in to your account.
Go to Your Profile.
Hide your check-ins.
Keep Your Information Private!
Deleting check-ins on Facebook is an easy process that can be done on both the desktop and mobile apps.
By following these steps, you may simply delete undesirable location tags from your previous posts while maintaining control over your privacy settings.
If deletion isn't your final goal, remember that you can adjust the location or audience for your check-in.


