Table of Content
Have you ever regretted posting something on Facebook because it could go viral?
You don’t need to worry about that!
While Facebook does not allow you to completely remove the share button, there are ways to limit who can spread your vacation images without your concern to the distant reaches of the internet.
Steps to Remove Share Button on Facebook
Limiting the share option reduces the surfacing of your posts and gives you control over your Facebook browsing experience.
You will study the step-by-step process of adjusting your settings to properly eliminate the share button, ensuring that the content remains inside your intended area of influence.
Step 1: Log into your Facebook account. Once you're in, look for the three horizontal lines in the upper right corner of your main Facebook page.

Step 2: The menu that slides down provides various options, select the 'Settings & Privacy' option, from the list.

Step 3: When you pick 'Settings & Privacy,' a new list displays.
Here's the time to choose 'Settings.'

Step 4: Or you can directly select the Privacy Shortcuts.
Step 5: In the Settings & Privacy menu, select Privacy Shortcuts. This could be your quickest option.

Step 6: Look for the option "See more privacy settings." This link will take you to the whole list of privacy controls.

Step 7: In the expanded list of settings, scroll down and select Profile and Tagging in the Audience & Visibility tab.

Step 8: Once in the Timeline and Tagging section, you'll discover several choices for managing the visibility and engagement of your posts.
Look for the setting labeled Who can post on your timeline?

Step 9: You're going to want to make sure it's set to Only Me to keep others from sharing your posts.

Step 10: Next, find the setting. Who can see what others publish to your timeline?
Aside from the individual post settings, don't ignore the Review options:
Step 11: Review posts in which you have been tagged before they show on your timeline. Enable this to have the ability to accept or reject any posts or shares before they are exposed to others.
Step 12: Review What others see on your timeline. Check this setting to see how your timeline seems to different audiences, which will give you an idea of how your profile appears in public.

After you've gone through your timeline and tagged options, you'll want to focus on managing the visibility of your future posts.
This is important to prevent your posts from being shared without your permission. Facebook's privacy settings for new posts can be found in the same Privacy menu you previously viewed.
Step 13: To begin, find the option labeled 'Who can see your future posts?'
Step 14: To ensure that your new postings are not shareable, modify this setting to a more restrictive one.
Step 15: Click Edit next to 'Who can view your future posts?' and then choose from the dropdown menu. You can select Friends, Only Me, or a custom list of friends.
Once you've customized the privacy settings for your future posts, you might want to address posts you've already shared.
Step 16: Go to your Facebook profile and click the three dots beside 'Add to Story'. Choose 'Activity Log' from the dropdown menu. This is where you'll discover your post history. Posts can be easily filtered by year and category for simpler management.
Step 17: For individual postings, click the three dots in the right-hand corner of the one you want to change. Choose 'Edit Post Privacy'. From here, you may change the privacy settings to Friends, Only Me, or Custom.
Sharing exposes your information to your intended audience and potential security dangers. Removing the share button reduces the ability of unauthorized trackers to gain access to your content and potentially collect valuable data.
PurePrivacy's capabilities, such as tracker blocking, can improve security by preventing these unwanted elements from penetrating your online behavior. This complete method ensures that your data remains controlled, reducing the risk of breaches and illegal acquisition.
Secure Your Private Data with PurePrivacy
Pure privacy offers a compelling alternative to the existing situation of widespread data collection.
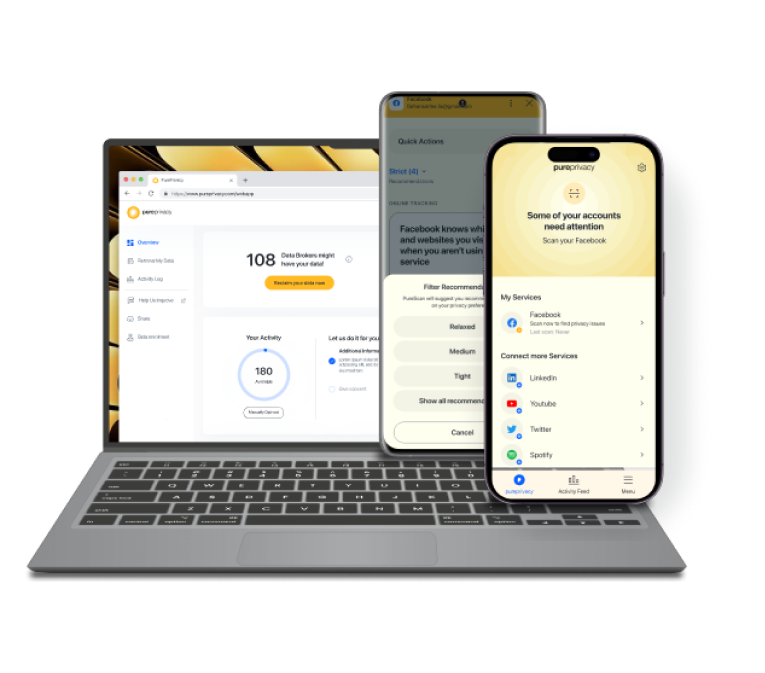
PurePrivacy helps you take control of your digital footprint through features such as tracker blocking, data breach monitoring, and automated privacy recommendations.
This is how PurePrivacy keeps your information safe:
Secure Social Media Accounts
You can easily connect your social media accounts (Facebook, Instagram, Twitter, LinkedIn, Spotify, Google, and YouTube) to this app by simply allowing it to send you privacy recommendations.
Get a Tailored Privacy Score
Its advanced technology shows a privacy score by assessing the permissions you've provided to various social media accounts. It creates a thorough security score by assessing the level of access allowed and the potential privacy hazards associated with these permissions.
Recommendations to Improve Privacy
This app will use information from your social media settings to make targeted recommendations to improve your privacy and security. By assessing your current settings and permissions, it can discover areas for improvement.
Discover if Your Most Critical Identifiers Have Been Exposed on the Dark Web
Receive timely alerts and actionable insights with PurePrivacy's Dark Web Monitoring.
Frequently Asked Questions (FAQs)
-
What steps should I take to limit who can post to my timeline?

Navigate to your Timeline and Tagging Settings, and under 'Who can post on your timeline?' select the right audience for you, such as 'Only Me' or 'Friends.'
-
Is it possible to review posts and tags before they are displayed on my timeline?

You can examine posts and tags before they appear on your timeline by turning on the Timeline review in your Privacy Settings.
-
Why is it vital to frequently look into how my Facebook timeline appears to others?

Regularly examining how your timeline appears to different audiences ensures you know what information is visible and may take steps to preserve your privacy.
-
How do I remain updated on updates to Facebook's privacy features?

To stay informed about changes to Facebook's privacy features and terms of service, check the Facebook Help Center regularly and follow reputable tech news sites.
Limit Facebook Sharing!
While you cannot remove the share button, you can change your Facebook post privacy settings to manage who can see and share your posts.
Limiting the audience to "Friends" or even "Only Me" can easily prohibit people from sharing your information.
Remember to change these settings for new and old postings to ensure your privacy preferences are followed.


